How to Choose an Equipment Vibration Isolator in 2026?
Choosing an Equipment Vibration Isolator in 2026 is not a matter of picking the softest mount or the lowest price. The right choice depends on the machine’s weight, operating speed, vibration direction, and installation conditions. A pump on a concrete floor creates different demands from a precision instrument on a flexible bench. Small details matter.
Dr. David E. Newland, a vibration-analysis researcher and author, offers a useful principle through his published work: isolation should be matched to a system’s vibration behavior, not just its weight. This is a paraphrase, not a direct quotation. It points to a common selection error: treating static load capacity as proof of good isolation. It isn’t. Engineers should consider excitation frequencies, natural frequency, expected deflection, and whether the equipment starts or stops often. They should also check temperature, oil exposure, available space, and maintenance access. A mount that performs well in a calculation may disappoint in a cramped, hot plant room.
This guide explains how to compare elastomeric, spring, and other isolator types, then narrow the options using real operating conditions. It also covers the measurements and supplier information worth requesting before purchase. Bring actual load data. Confirm the speed range. Ask how performance was tested. These steps sound basic, yet they are easy to skip when a replacement is urgent. No selection method removes every uncertainty; field conditions can differ from drawings. That deserves a second look.
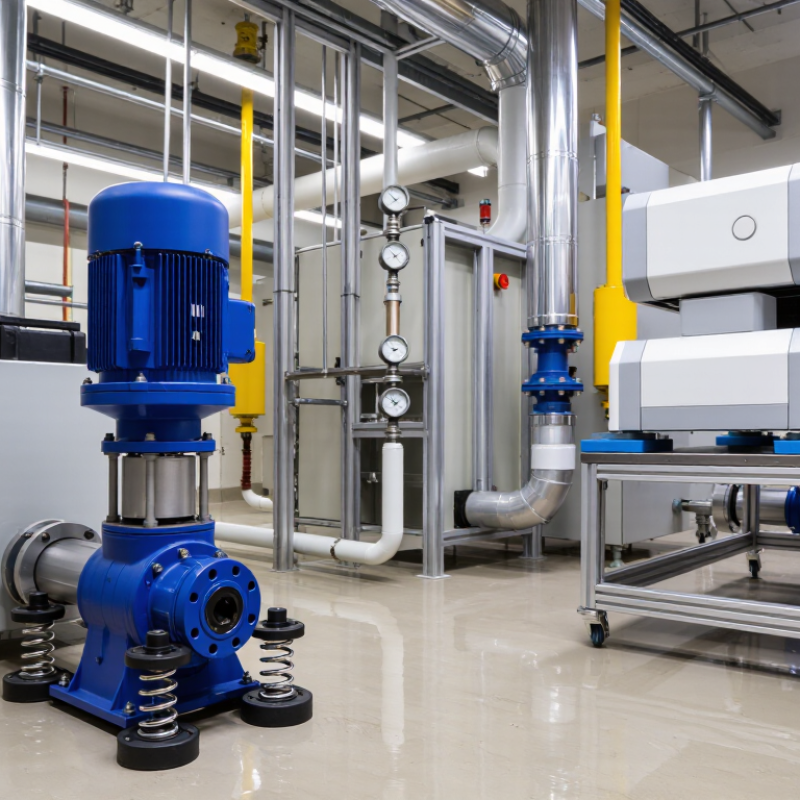
Identify the Equipment’s Vibration and Isolation Requirements
Before selecting an equipment vibration isolator, describe what the machine actually does. Record its operating speed, load, and vibration direction. A handheld vibration meter or accelerometer can reveal dominant frequencies and amplitudes during steady operation. Check startup and shutdown too; the strongest vibration may occur briefly, not continuously. Small details matter.
Compare those measurements with the equipment’s sensitive frequency range and the vibration limits of nearby spaces. A pump on a concrete floor may need a different isolation approach from a compressor beside precision instruments. Note whether vibration travels through the floor, connected pipes, or a support frame. One measurement point is rarely enough. If possible, measure at the machine feet and the receiving structure.
Then define the isolation target: reduce transmitted vibration, limit movement, or protect the machine from external vibration. These goals can conflict. Review the equipment’s weight at each mounting point, expected load changes, available deflection, and operating temperature. Isolation performance depends on stiffness and natural frequency, so selecting by weight alone can miss the mark. Check clearances around pipes and cables; rigid connections can bypass an otherwise suitable isolator. I would verify the assumptions against measurements, because field conditions rarely match a tidy specification sheet exactly.
Assess Operating Conditions, Loads, and Installation Constraints
Choosing an equipment vibration isolator starts with the machine’s real operating conditions, not its nameplate alone. Record running speed, start-up behavior, duty cycle, and nearby vibration sources. A pump that runs steadily may behave differently during frequent starts. Note ambient temperature, moisture, dust, and exposure to oils, since these can affect elastomer performance. Small details matter.
Check the supported load at each mounting point, including uneven weight distribution and the machine’s center of gravity. Motors, guards, and attached piping can shift loads away from the frame’s center. Compare the expected load with the isolator’s working range; an overloaded unit may bottom out, while an underloaded one may not deflect enough. Measure the available footprint, mounting-hole pattern, and vertical clearance. Leave room for inspection and replacement. Access is often overlooked.
Also account for connected ducts, hoses, and cables. Rigid connections can transmit vibration around an otherwise suitable isolator, so flexible sections may be needed. Match the isolator’s natural frequency to the equipment’s operating range, and confirm that start-up or shutdown will not create troublesome resonance. I would revisit the measurements before ordering. A clean drawing can still miss a bracket or service panel. Have the load assumptions and installation details checked by a qualified vibration specialist when the equipment is critical or operating conditions are uncertain.
Compare Vibration Isolator Types and Materials
Choosing an equipment vibration isolator starts with the disturbance, not the catalog. A small fan on a steel frame may need different support from a compressor with strong start-up torque. Rubber or elastomer mounts are compact and damp motion well, but heat, oils, and aging can change their stiffness. Cork-rubber composites can limit transmitted vibration in light machinery, though they may compress permanently under heavy loads. Small details matter.
Coil springs suit heavier equipment and low-frequency isolation when enough travel and lateral control are available. Wire-rope isolators tolerate harsh conditions and multidirectional motion, but can feel too flexible without careful restraint. Pneumatic mounts can isolate very low frequencies, yet need a stable air supply and more setup. Compare each option at the actual operating load, not just its rated capacity. Check static deflection, excitation frequency, temperature, chemical exposure, and clearance. A mount that works at idle may bottom out during a brief start. In practice, pipes and cables can create vibration bypass paths, so inspect the whole assembly. Even careful selection may need adjustment after a vibration test.
Select Isolator Performance Ratings and Safety Factors
How to Choose an Equipment Vibration Isolator in 2026?
Select Isolator Performance Ratings and Safety Factors
An isolator’s load rating is only a starting point. Check whether it describes static load, dynamic capacity, or both. A compressor weighing 240 kilograms may not load four mounts evenly, especially when its center of gravity sits off-center. Calculate the expected load at each mounting point, then check the isolator’s rated deflection and operating range. Measure under load. Small details matter.
Match performance ratings to the equipment’s operating speed and vibration frequency. If an isolator is too stiff, vibration may pass into the floor; if it is too soft, the machine can rock or shift during startup. Review expected movement, nearby equipment, and any start-stop shocks. Choose a safety factor that reflects real uncertainty, such as uneven loading or changing operating conditions. There is no single factor that suits every installation. Confirm the selection with current technical data and a qualified engineer when consequences of failure are significant.
Tips: Weigh the equipment in its installed configuration. Include fluids, accessories, and attached piping. Check each mount’s load, not just the machine’s total weight. Keep a record of assumptions. I have seen neat calculations miss a heavy accessory added later; that is an easy mistake to overlook. Recheck ratings after any equipment change, and avoid choosing a larger capacity by habit, since excess stiffness can reduce isolation performance.
How to Choose an Equipment Vibration Isolator in 2026? — Select Isolator Performance Ratings and Safety Factors
Illustrative load calculations for equipment supported by four equally loaded isolators. The minimum rating shown applies a 1.5 safety factor to the static load per isolator, calculated using gravity of 9.81 m/s². Confirm actual load distribution, dynamic forces, and project requirements before selecting an isolator.
Verify Compatibility, Installation, and Maintenance Needs
Choosing an equipment vibration isolator in 2026 starts with the machine, not the catalog. Record its operating weight, speed range, center of gravity, and the load carried by each mounting point. Include changes during startup, shutdown, or production; a steady-state number may miss important loads. Check the isolator’s rated capacity and working deflection against the equipment data. If the load is uneven, verify each mount separately with a qualified engineer.
Tips: Confirm available clearance before ordering. Check temperature, moisture, oil exposure, and nearby cleaning chemicals. During installation, follow the specified orientation and fastener requirements. Keep pipes, cables, and guards from forming rigid paths around the isolators; even a small metal contact can transmit vibration. Measure the installed height at each mount, and record the baseline.
A compatible isolator can still perform poorly if it is installed under uneven load or on a weak support. After startup, look for shifting, unusual noise, settling, or contact with nearby surfaces. Recheck mounting hardware and isolator condition at intervals suited to the machine’s duty and environment. Keep simple notes on height, visible wear, and operating changes. I have seen paperwork look reassuring while the actual clearance was forgotten; that is an easy miss, and worth checking twice. When symptoms persist, reassess the load and installation rather than selecting a softer isolator by guesswork.